
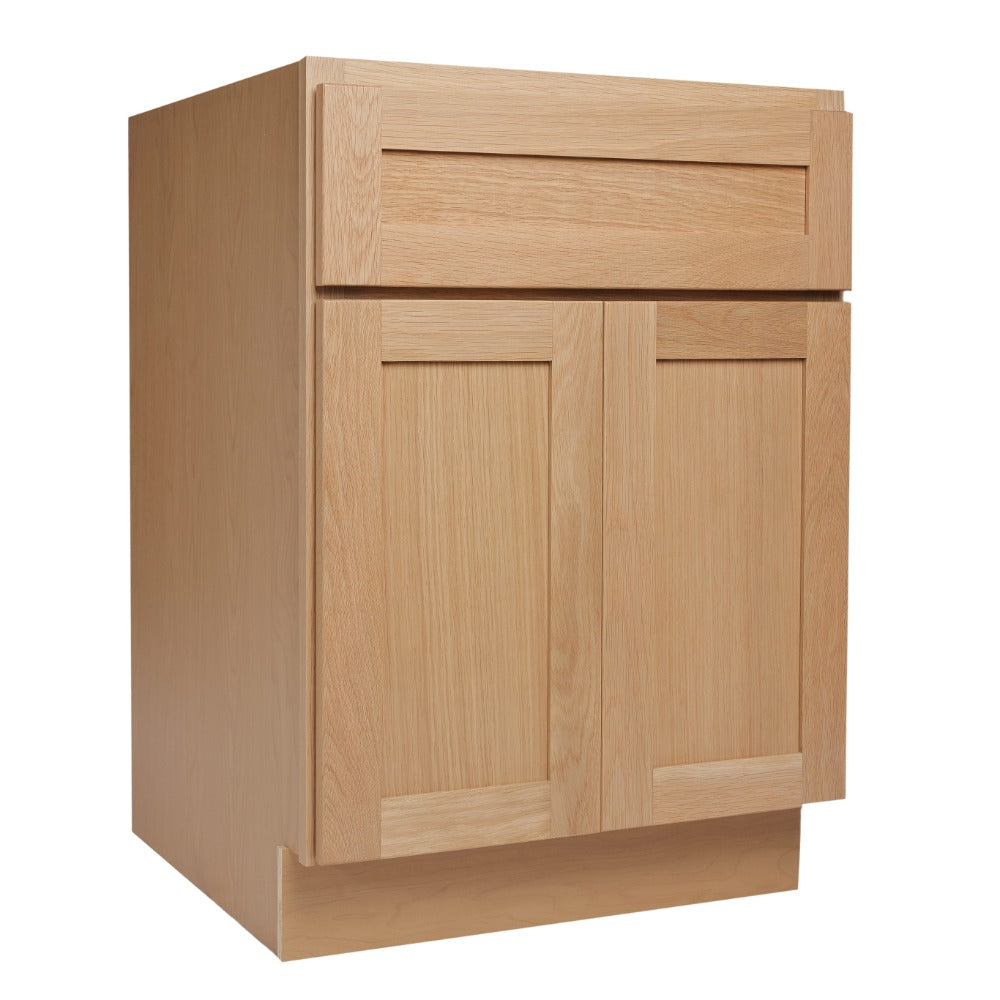
Ready-to-assemble (RTA) cabinets offer an affordable way to update your kitchen, but assembling them for the first time can raise a few questions. With several panels and unfamiliar hardware in front of you, knowing where to begin makes a difference. Fortunately, most cabinet systems follow a straightforward assembly process once you understand how the components fit together.
If you're wondering how to assemble RTA cabinets, here are eight easy steps to help you build a sturdy cabinet box before installation.
Step 1: Set Up a Clean, Spacious Work Area
Before opening your cabinet boxes, find a flat surface with enough room to spread out the components. A garage or open room works well, as long as you have space to move around larger panels without bumping into nearby furniture.
Lay down cardboard or a moving blanket to protect the cabinet finish. Even minor scratches can show up once the cabinets are in place, especially on darker finishes.
Good lighting also helps you identify predrilled holes and align connecting hardware. If you're assembling several cabinets, work on one unit at a time to stay organized.
Step 2: Gather Your Cabinet Assembly Tools
Most RTA cabinets use straightforward fastening systems that require only a few common tools. However, some manufacturers include specialized connectors, so review the assembly instructions before reaching for your drill.
Keep the following tools nearby:
- Phillips-head screwdriver: Tightens standard screws and compatible fasteners.
- Cordless drill: Speeds up fastening when the manufacturer permits its use.
- Rubber mallet: Helps seat components without striking finished surfaces directly.
- Carpenter's square: Helps you identify misaligned cabinet corners.
- Measuring tape: Allows you to compare dimensions and check alignment.
If you're using a cordless drill, select a low torque setting. Excessive force can strip screw holes or damage the cabinet material, especially around connecting hardware.

Step 3: Unpack and Organize the Cabinet Components
Carefully open the packaging and compare the contents with the manufacturer's parts list. Most cabinet boxes contain side panels and a bottom panel, along with a back panel or support rails. The remaining components depend on the cabinet's construction.
Look closely at the predrilled holes and finished edges. These details often indicate which direction each panel should face during assembly.
Keep screws and connectors in separate containers rather than leaving them scattered across your workspace. If you're assembling several units, avoid mixing components between boxes, even when the cabinets appear similar.
Inspect each piece for shipping damage before proceeding. Finding a damaged corner or missing connector early can save you from disassembling a partially completed cabinet.
Step 4: Connect the Side Panels and Cabinet Bottom
Now you're ready to begin building the cabinet box. Depending on the design, you may start with the side panels and bottom panel or attach the face frame first. Follow the sequence that accompanies your specific cabinet model.
For cabinets that begin with the side panels, lay one panel flat with its interior facing upward. Align the bottom panel with the designated grooves or connection points, paying attention to the orientation of each finished edge.
Insert the supplied fasteners and secure the connection without overtightening. If your cabinet uses cam locks, position each connector correctly before turning it.
Attach the opposite side panel while keeping the bottom panel supported. The adjoining edges should sit flush, without visible gaps or unnecessary pressure on the joints.
Step 5: Attach the Back Panel and Check the Cabinet's Shape
The back panel helps maintain the cabinet box's alignment and may provide structural support, depending on the cabinet design. Some systems use a full back panel, while others rely on support rails.
If your cabinet includes a back panel that slides into grooves, guide it into place slowly. For designs that use screws or other fasteners, align the panel with the designated attachment points.
How Can You Tell if the Cabinet Is Square?
Place a carpenter's square against the cabinet's corners to identify noticeable misalignment. You can also measure diagonally between opposite corners of the cabinet opening.
When both diagonal measurements match, the cabinet box generally has square corners. If the measurements differ, gently adjust the frame before securing the remaining connections.
Taking a moment to correct alignment now can prevent door spacing and drawer-movement problems later.
Step 6: Secure the Face Frame or Front Components
Your next step depends on whether you're assembling framed or frameless cabinetry. Framed cabinets feature a face frame around the front opening, while frameless designs use the cabinet box itself to support the doors.
If your cabinet has a separate face frame, position it against the box and align the connection points. The frame should sit evenly along the cabinet edges without twisting or creating gaps.
For frameless cabinets, inspect the exposed front edges and confirm that the panels remain aligned. Some designs also require mounting plates or other hardware before you can attach the doors.
If a component doesn't fit, avoid forcing it into position. Revisit the assembly diagram and confirm that you've oriented the panels correctly.

Step 7: Assemble Drawers and Attach Cabinet Doors
With the cabinet box together, you can begin working on its moving components. Drawer construction varies, although many designs use interlocking joints or mechanical fasteners to connect the drawer sides.
Start by assembling the drawer box according to the supplied instructions. If your cabinet features dovetail drawers, align the joints carefully and apply gentle pressure to seat them.
Next, attach the drawer slides in their designated positions. Both sides should sit at the same height to help the drawer move smoothly.
When working with RTA kitchen cabinets, pay attention to the hinge style before attaching the doors. Many modern cabinet collections use adjustable concealed hinges, which allow you to fine-tune door placement after assembly.
Step 8: Inspect the Cabinet and Make Final Adjustments
Before preparing your cabinets for installation, inspect the assembled box for loose connections or uneven edges. Gently test its stability and confirm that the panels remain properly aligned.
Open and close the cabinet doors several times. If one door sits higher than the other, consult the hinge instructions to adjust its position.
Drawers should move smoothly without scraping against the cabinet frame. If you notice resistance, inspect the slides for alignment problems rather than forcing the drawer closed.
Finish by wiping away assembly dust with a soft cloth. Keep the cabinets on a protected surface until you're ready to move them into position.
What Comes After Cabinet Assembly?
After you assemble your cabinets, you'll need to prepare the kitchen for installation. Check the room measurements against your cabinet layout, paying particular attention to corners and appliance openings.
Cabinet installation also involves leveling the units and securing them to appropriate structural supports. Wall cabinets require particular care because their mounting hardware must support the cabinet and its contents.
If you're unfamiliar with cabinet mounting procedures, hiring a qualified installer can help you avoid costly mistakes.
Start Your Kitchen Project With Granada Kitchen
Knowing how to put together RTA cabinets with a clear, step-by-step process can make your renovation feel more manageable. Careful assembly helps your cabinetry function properly and prepares each unit for installation.
At Granada Kitchen, we offer ready-to-assemble cabinets in a range of styles and finishes for homeowners and contractors. Visit our Anaheim or Pomona showroom to browse our selection, or explore our kitchen cabinets online to find options that suit your project and budget.
Share:
RTA Cabinets Explained: Why They’re the Popular Choice
8 Smart Ways To Save Money on Your Kitchen Remodel